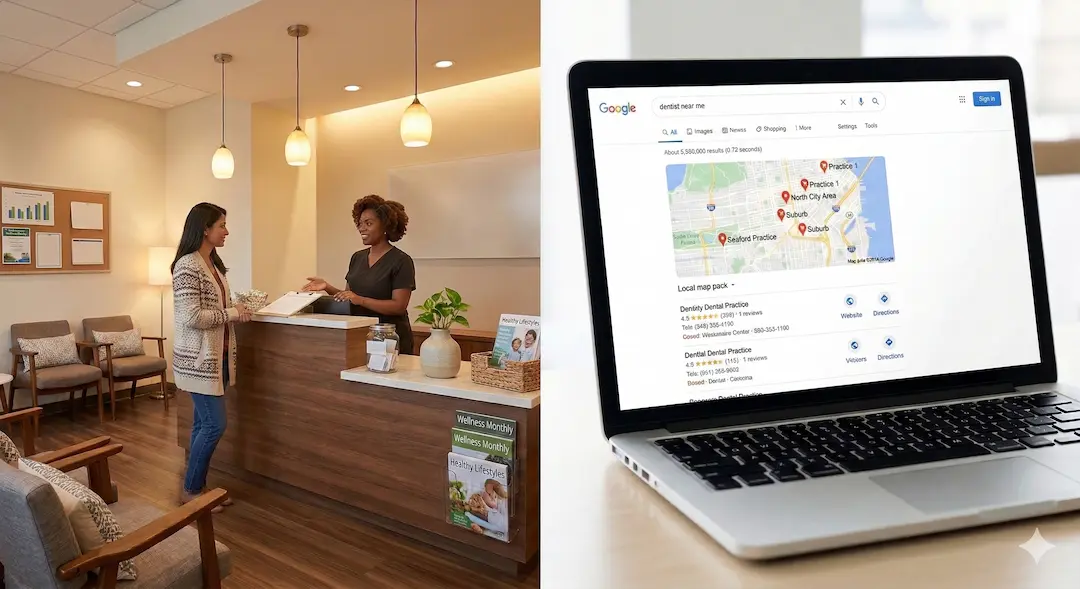
In the age of digital connection, patients are looking for more than just a list of services—they’re looking for a person they can trust. We’ve already discussed how strategic image use and video content can transform your online presence. But you don’t always need a full production crew to make an impact.
With a modern smartphone in your pocket, you have a professional-grade studio ready to go. Here are five essential tips to help your DIY dental videos look and sound like they were shot by a pro.
1. Landscape is King
Unless you are filming specifically for Instagram Reels or TikTok, always shoot in landscape (horizontal) mode. Holding your phone vertically creates large black bars on the sides when viewed on a desktop or most video players. Landscape mode mimics the natural field of vision and makes your practice look more established and “cinematic” on your website.
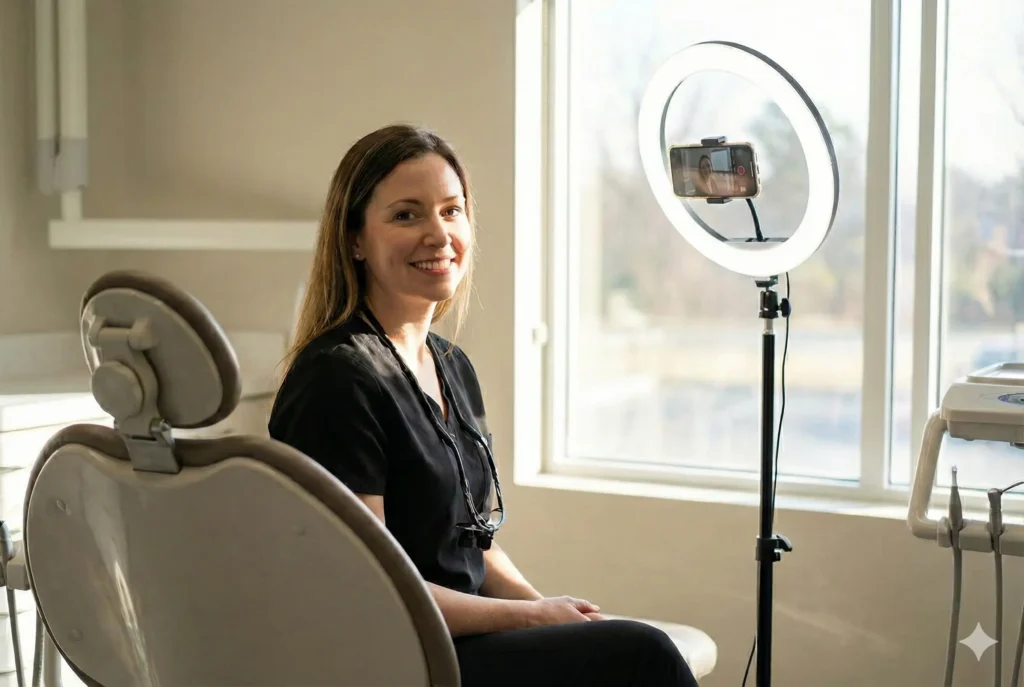
2. Find Your Best Light
Lighting is the single most important factor in video quality. Skip the harsh overhead fluorescent lights in the operatory, which can create unflattering shadows. Instead, face a large window to utilize soft, natural light. If you’re filming after hours or in a dark room, a simple ring light or a positioned desk lamp can work wonders to illuminate your face evenly.
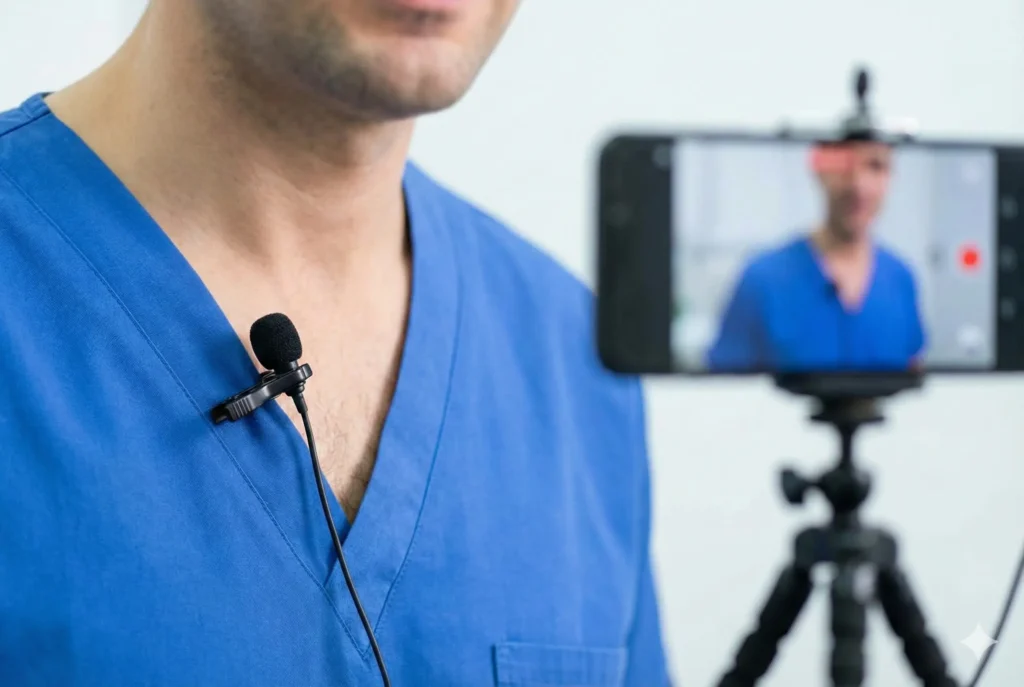
3. Audio Over Everything
Viewers will forgive a slightly grainy video, but they will click away from bad audio instantly. To capture crisp sound:
- Find the quietest room in the office.
- Turn off humming equipment or loud AC units.
- Keep the phone within three feet of the speaker.
If you plan on filming regularly, a small, inexpensive clip-on lavalier microphone (standard for iPhone/Android) is the best investment you can make.
4. Stabilization & Framing
Shaky footage is the fastest way to make a DIY video feel “cheap.” Use a simple tripod or even prop your phone up on a stack of books to keep it steady. For framing, follow the Rule of Thirds: imagine a grid on your screen and place your eyes along the top horizontal line. Ensure there is just a small amount of “headroom” above you so you aren’t cut off at the forehead.


5. Clean Your Lens
It sounds simple, but it’s the most common mistake. Our phones live in our pockets and hands, collecting smudges and oils. Before you hit record, wipe your lens with a microfiber cloth. A clean lens prevents that “hazy” look and ensures your high-definition camera actually records in high definition.
Recording high-quality video doesn’t require a Hollywood budget—just a bit of intentionality. By implementing these simple adjustments, you create an authentic window into your practice that resonates with prospective patients. While these DIY tips are excellent for quick social updates, we know that your primary focus is—and should be—your patients. If the idea of managing lighting, audio, and framing feels like one more thing on an already full plate, Bullseye Media can help take the burden off your shoulders. Our strategic video partners can help you create professional, high-impact video content for your practice, ensuring your office looks its absolute best without you ever having to lift a finger (or a smartphone).